Tuesday, June 28, 2011

SUGAR to the SNAP to the PEAS!

oh ME oh MY!
We planting these delights a few months ago and look what I found this afternoon!!!!
One was ready and it was SOOO sweet and SOO yummy! Can't wait for more!
The funny thing about this picture are the stakes that are 6 feet high.. I asked Brad if he really thought
he needed to put that stakes that high for the peas? Apparently so, they are growing like crazy and I just added more string because they want to keep climbing!
Look at all the little peas starting!


Friday, March 11, 2011

It's almost time!

Here I am again!!! It's almost time to plant my seeds! I almost did it last week and then a freak storm hit and left us with 2 feet of SNOW..
So, I will give it another week or so and get to planting! I have spinach coming up already from last year:)
Stay tuned!

Friday, October 8, 2010

Almost ready!

Not growing AMAZING.. I for sure started a little late but I still have some yummy growth going on!
Totally excited to plant everything in the spring!

But this will do for now!

Sunday, August 29, 2010

HiP HiP Hurray, I've got more seedlings today!!!

I just can't believe how fast these are growing and how excited I am to actually eat something I grew!

Friday, August 27, 2010

I've got growth!!

ARE YOU KIDDING ME!!?? ALREADY!!! It's like the funniest feeling - like I have accomplished something so great & huge!! A few little seedlings have emerged!! It has only been 4 days!!! They are my radishes!! YIPPEEE!!


You may have to look closely, but they are there!

Tuesday, August 24, 2010

Time for planting

So I started to search for what will work to plant right now. This is what I have planted:
Leafy veggies!
     *A.Spinach

PLANTING: 1/4 to 1/2" seed spacing 2"
DAYS FOR MATURITY: 45 days
Spinach is planted in the fall and likes cool weather, when ready cut leaves and they will regrow for a second harvest.
NUTRITION: high in Chlorophyll, iron, and vitamin c.

     *B. Swiss Chard
PLANTING: 1/4 to 1/2" seed spacing 1"
DAYS FOR MATURITY:50 days
Chard planted in the fall and likes cool weather, when ready cut leaves and they will regrow for a second harvest.
NUTRITION:  Calcium, iron, & vitamins A, B1, B2, C and Niacin


    *C. Cabbage
PLANTING: 1/4 to 1/2" seed spacing 1"
DAYS FOR MATURITY: 65 days
NUTRITION: vitamin C and U.


*Beets
PLANTING:1/2-3/4" Seed spacing 1-2"
DAYS FOR MATURITY:60
NUTRITION:calcium, iron, & vitamins A, B1, B2, C and Niacin

*Radish
PLANTING:1/4-1/2" seed spacing 1"
DAYS FOR MATURITY: 25
NUTRITION: calcium, iron, & vitamins A, B1, B2, C and Niacin
*Onions
PLANTING: 1/2" spacing 1"
DAYS FOR MATURITY:  110
NUTRITION: Calcium, iron, and vitamins:A, B1, B2, C and Niacin.

*Garlic (my favorite to cook with!)  This is planted in the fall and will be ready next summer!
PLANTING: You can actually buy regular garlic from the store separate and plant pieces of it.
DAYS FOR MATURITY: NEXT SUMMER
NUTRITION: Stimulates metabolism, is an antiseptic, reduces cholesterol, thins the blood( which prevents heart disease), and reduces high blood pressure!

(I told my husband that I cancel out all of the stress I cause him by cooking with Garlic!!)

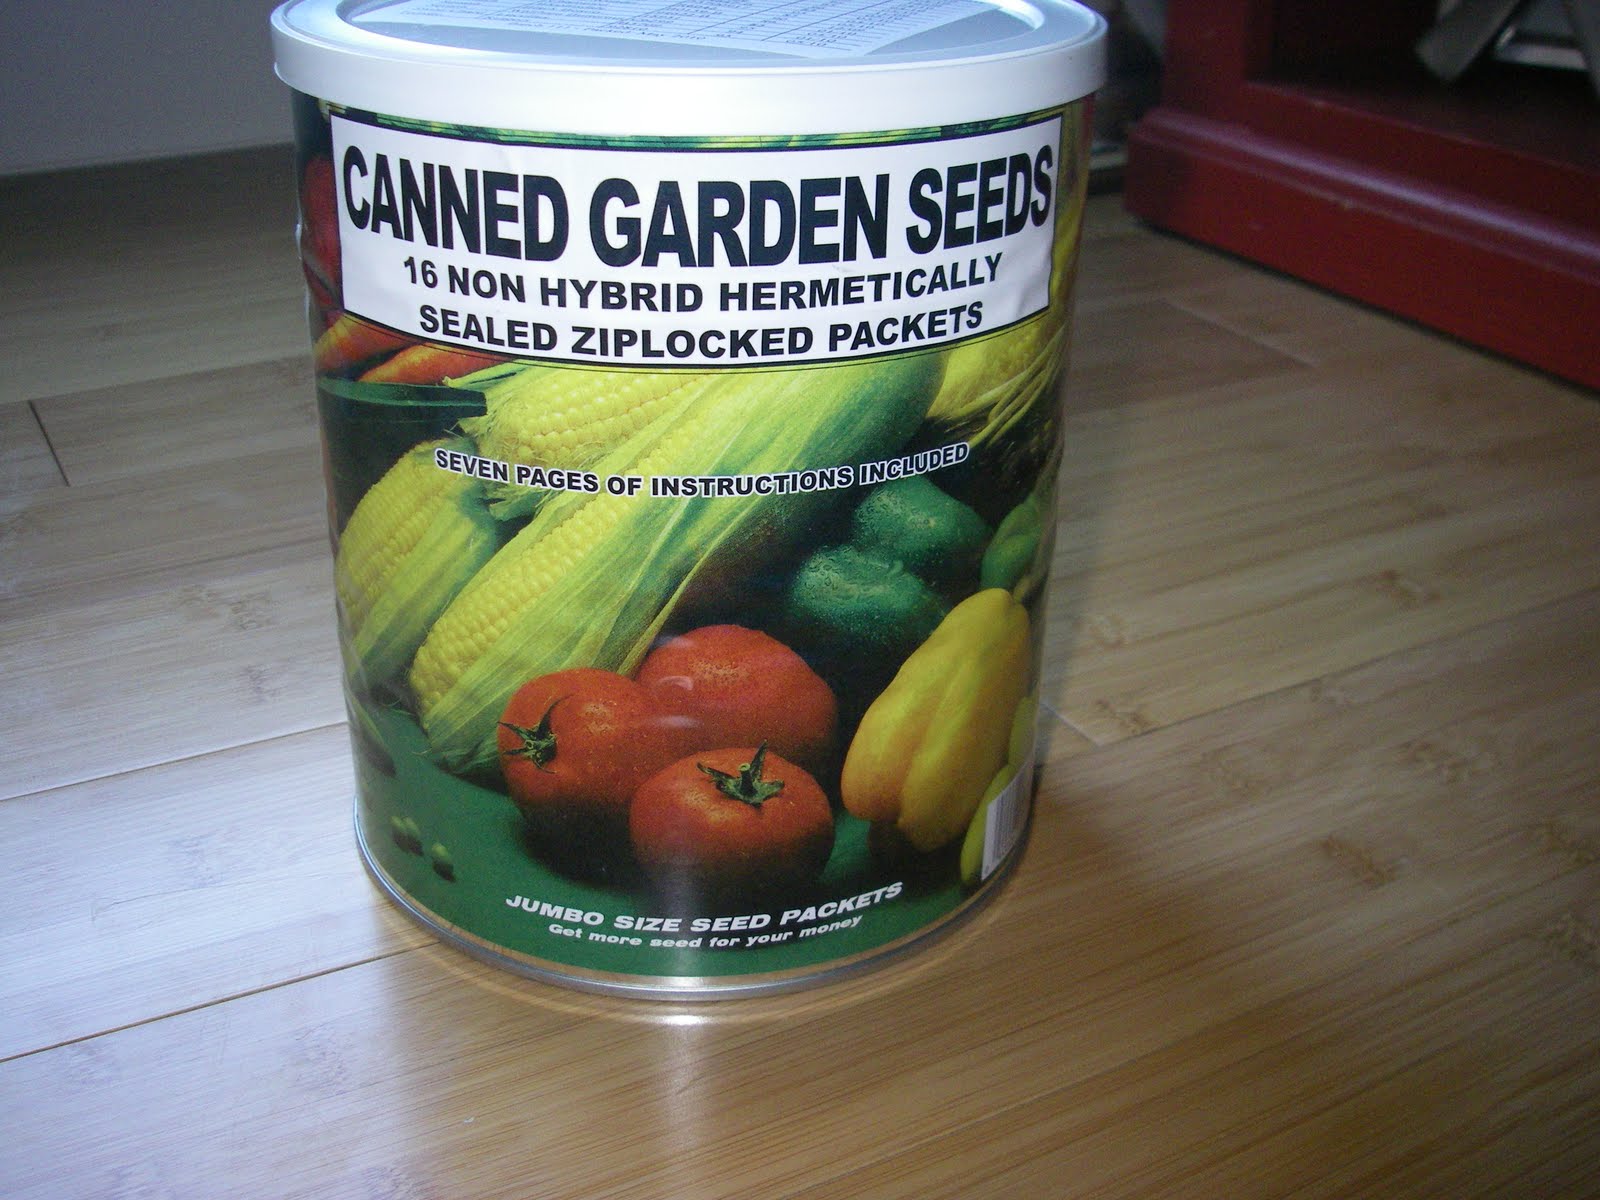
Love this can of seeds I found! It has instructions, care, harvesting and nutrition on everything!
It came with everything you could dream up! I am excited for spring!
What I planted!
I love that my kids were so excited and eager to help! I hope I can teach them something they will use in their lives for the future!


This is a good site I found helpful with planting times!

Here I grow!

  1. Set boxes (where sunlight is the strongest is best!)
  2. Staple sides with weed control paper( helps to keep the moisture and dirt in.)
  3. Fill with GOOD SOIL! (I got a topsoil plus from Millcreek gardens) topsoil plus: contains a blend of sandy loam plus organics, composted steer manure, composted forest products, peat, and soil conditioners. 
  4. Plant seeds!
  5. Water and grow!!

Monday, August 23, 2010

More boxes!

We built a few more boxes!! We got everything we needed at Home Depot! Vegetableles here you come!!
Thanks to my handy, handsome husband!

Thursday, August 19, 2010

Late summer planting!


I need to go get soil and seeds so I am looking up what I can plant this late in the summer that will still thrive. This is what I have found so far:
  • tomatos (Heatwave, Hawaiian Hybrid, Bingo, Whirlaway, Celebrity and Solar Set. Plant several varieties and see which you like best.
  • peppers
  • broccoli
  • cauliflower
  • cabbage
  • brussel sprouts
  • collards
  • cucumbers
  • kohlrabi lettuce
  • mustard
  • turnips
  • squash (my favorite)
  • lima beans
  • snap peas
On my way to the store for soil and seeds!

Fun facts!

Here are some fun facts to get everyone excited about the new garden you want to plant!

1.A stalk of celery only contains 10 calories. The human body uses more calories digesting celery, and so celery is said to be a great snack, as it helps an individual to lose weight.

2.The cabbage contains almost as much water as watermelon. Watermelon is 92% water, cabbage is 90%. Carrots are not too far behind with a water content of 87%.

3.Tomatoes are very high in the carotenoid Lycopene; eating foods with carotenoids can lower your risk of cancer...Other vegetables high in carotenoids are carrots, spinach, sweet potatoes, and collard greens

4.Most of the nutrients in a potato reside just below the skin layer

5.The tomato, by definition, is actually a fruit and it took a ruling by the Supreme Court in 1893 to make the tomato a vegetable.

The begining of something beautiful!!

The start of something GREAT!!! So excited for this!!!!


NEXT STEP---> Get these things placed and get dirt in them!
Let the growing begin!!

Raised vegetable planter boxes


1.Find out just how easy it is to practice eco-friendly gardening. A raised planter bed will provide you with a garden if you don't have space for one, conserve water and allow you to grow more vegetables.
2.Find out just how easy it is to practice eco-friendly gardening. Installing a raised planter bed is a fast and easy project you can do in one day.


Obviously you don't have to do everything exactly the same.. This will get you started!
Let's start our journey together!

CLICK BELOW
How To Build A Raised Planter Bed
You will need
•1 Circular Saw
•16 5 1/2" x 3/8" carriage bolts
•16 3/8" washers
•16 3/8" nuts
•3 2x12' rough redwood or cedar boards
•1 4' long 4x4" post
•1 carpenter's square
•1 pencil
•1 tape measure
•1 level
•1 hammer
•1 ratchet w/ 3/8" head
•1 adjustable wrench
•safety goggles
Step 1: Measure Twice, Cut Once
A solid planter bed starts with good wood. Rough Redwood or Cedar provides the best structure for your planter beds. It's also very important to use untreated wood as the chemicals in treated lumber could find their way into the soil and into your essential edibles. You can purchase the walls of your planter bed in two by 12 foot lengths. For a 12foot planter bed, you will only need to cut the two end pieces. Use your tape measure and mark out two, three foot sections on the two by 12 foot board. Your carpenter's square will provide a straight line all the way around the board when you cut.

The four support posts on the inside of your planter bed need to be 11 ¼” high. Measure out these pieces out on your 4x4 post. You'll want to use the carpenter's square here to insure a straight cut all the way around as the saw will not be able to make it through the post on the first pass. And the most important thing – don't forget to wear your safety glasses and keep your fingers away from the blade!

Step 2: Clamp It
When fitting your planter walls around your 4x4 posts, it doesn't matter if you overlap the boards on the end or the side; just make sure you overlap them the exact same way on all four corners to ensure the length of the planter bed is the same on all sides. Grab your bar clamps and place two of them on the corner, holding all the pieces of wood together. If you're feeling finicky, you can use your level to make sure the walls are nice and level.

Step 3: Full Of Holes
Using a power drill with a 3/8” spade bit, drill two bolt holes on each end of every wall of the planter. Carriage bolts will fit into these holes and keep your planter bed solid for years to come. There are a couple of important things to keep in mind when drilling. Make sure your bolt holes don't intersect on the inside of the 4x4 post or your carriage bolts won't fit. And don't drill all the way through the 4x4 or the opening will splinter and this could also keep the carriage bolts from slipping in easily.

Step 4: Big Bolt Action
Remove the bar clamps and start pushing the carriage bolts into all the holes around the planter bed. The bolts won't slip in by themselves, so use your hammer and pound them in so they are flush with the boards. Once through, put a washer and nut on the end of every bolt and fasten them securely. You can tighten the nuts by hand, but you'll need a ratchet with a 3/8” head on it to tighten all the way.

CLICK BELOW
How To Install A Raised Planter Bed
You will need
•1 raised planter bed
•1 wheelbarrow
•mulch
•1 shovel
•1 hoe
Step 1: Good Dirt
The best tasting vegetables come from great soil and before choosing the right soil mix, position your planter bed where it will receive maximum sunlight and access to a watering source. It's a good idea to fill your raised planter bed with one half dirt and one half mulch to maximize the potential of your garden. Figure out how many cubic yards of soil and mulch you'll need by measuring out the width, depth and height of your planter bed. Most home improvement stores will carry bagged dirt and mulch, but you can save a few extra bucks by seeing if you can get it bulk from a local supplier.

Put down a layer of soil first, and then start dumping in your mulch. Use your shovel or hoe to thoroughly mix the two layers together. This will ensure you have a great organic mixture and will provide your garden with proper drainage. If you want, you can use a plastic liner on the walls of your planter bed to keep moisture off the wood, but it's not necessary.

Step 2: Fill Your Garden
With the planter properly filled with nutrient rich, organic soil and mulch, you're finally ready to test out your green thumb. You'll be happy to know raised planter gardens require a lot less maintenance than other gardens and can produce twice as much produce. A raised planter bed allows you to plant vegetables closer together than a traditional garden. The biggest factor in deciding what to plant in your garden is the depth of the roots. If you have a shallow bed, you might be limited to certain types of herbs and veggies.

Tuesday, August 17, 2010

Can I really do this!!??

Ok.. So I have ALWAYS wanted to have a delicious vegetable and fruit garden but I live in DOWNTOWN Salt Lake City and only have THIS to work with! --------->
I really thought I would probably never have one while I lived here.

Obviously it also has no water system so I will be watering it by hand!
PLAN---> Build planter boxes!
WHY----> A. I want fresh veggies! B.Not much room. C. To save on water, time, money. D. I live in a big city.
Here I grow!! ;)